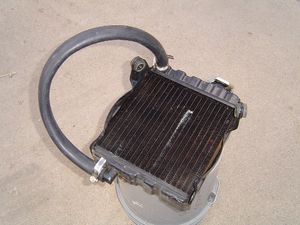
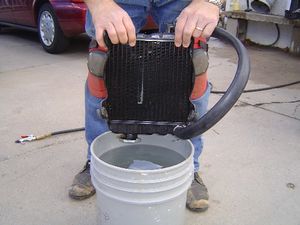
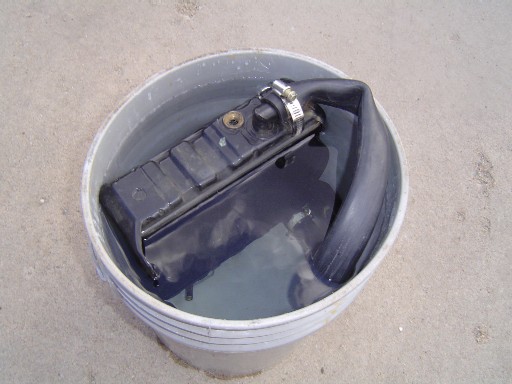
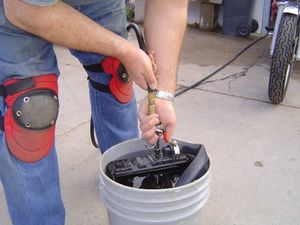
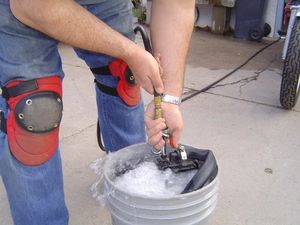
Pressure testing a radiator
(Thanks to Randall-in-Mpls for the information and pictures)
Here's a radiator test that I came up with when I needed to patch the Custom radiator I put on the Grub last year. I had it dismounted again this Spring to locate a slow leak, so I got some pics. (My patch held, by the way. The leak was near the thermostat.)
NOTE: I would be careful of the pressure setting on my compressor before charging the radiator with air. If the radiator cap was defective and didn't release at 13 lbs, you will be shopping for another radiator. I would suggest turning down the compressor to 15-20PSI max.
I hope this is helpful to someone. I've found it to work very well. R
This site is backed by Number 85, who provide the hosting. If you need a website done, get in touch with them.
