Rebuilding the Starting switch
This switch seems to have its share of problems on these bikes. Of course, if the High beam switch failed, it may be weeks before you realized it. If the starting switch fails, it's likely to be noticed much sooner. Since this and most other switches share a sometimes wet, dusty, and harsh environment, it is not unexpected that they need service every 30 or so years. And the service isn't particularly difficult, just fiddly.
In 90% of the cases, the switch simply needs cleaning. Old grease and dirt have built up over the years and now the contacts no longer work. To clean these, you first need to open up the clamshell on the handlebar. Sometimes this is the most difficult part, I have had to resort to drilling out the heads, then using a hacksaw to cut through the screws when I got it cracked open. A good screwdriver is critical on these and all other Phillip headed screws on your bike. Once the clamshell has been separated, you will also have to remove a small Phillips screw holding the wiring to the case. This should allow the switch body to be removed from its position and opened up. I would suggest a large, clean towel under the switch before opening, as there are several small springs and contacts that can fall out. Clean up all the contacts with electrical contact cleaner, and if necessary, burnish them with 600 sandpaper. When all old grease and crud has been removed, fill the switch with dielectric grease and reassemble. You should be good for another 30 years of service.
Here are some pictures courtesy of RVP3 on what the inside of the switch looks like. Thanks.
I disassembled, cleaned and reassembled a start button switch and took photos along the way.
Here's a picture of the clamshell opened:
Resized to 50% (was 1024 x 768) - Click image to enlarge 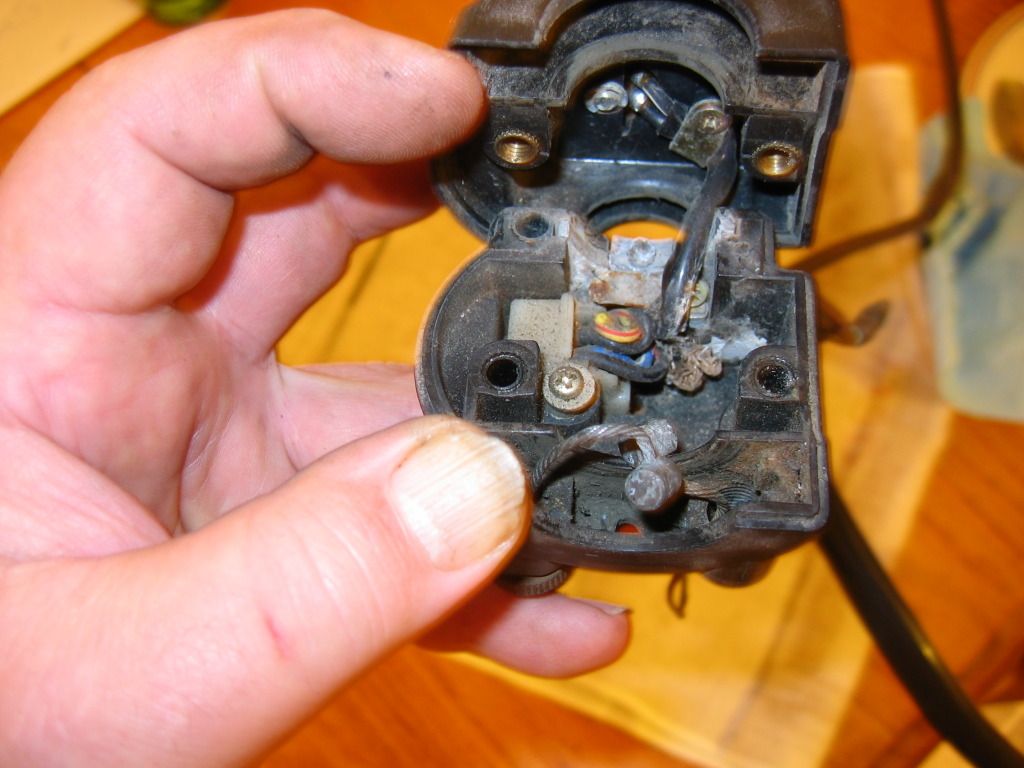
Prying out the switch after removing the mounting screw:
Resized to 50% (was 1024 x 768) - Click image to enlarge 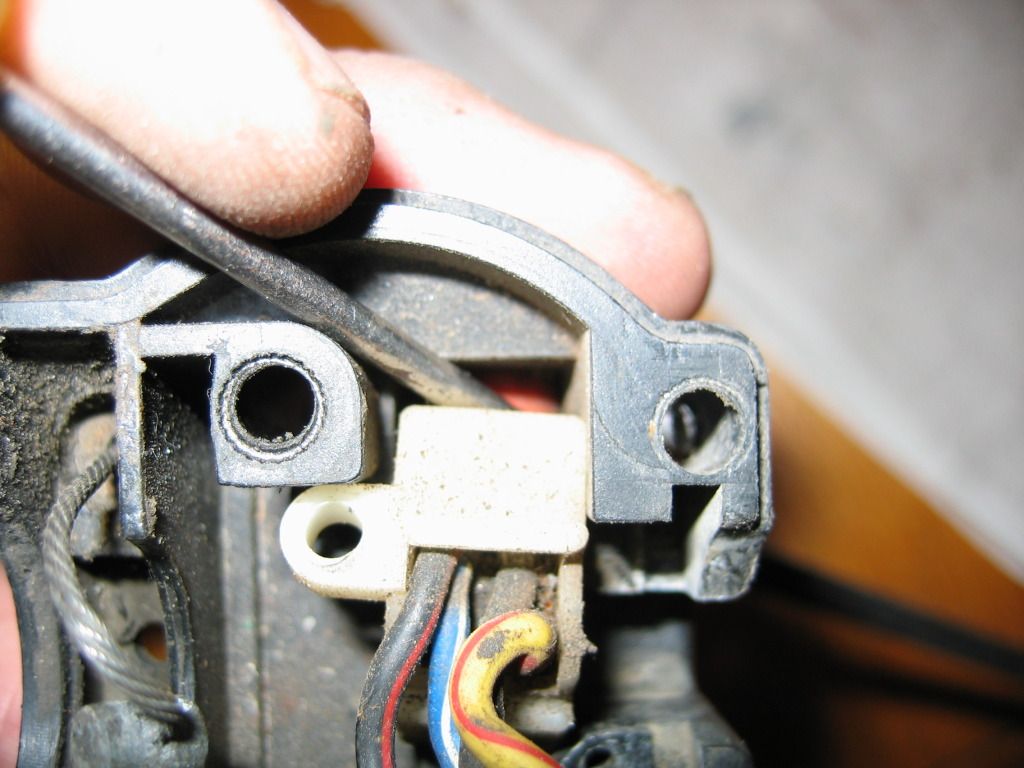
Resized to 50% (was 1024 x 768) - Click image to enlarge 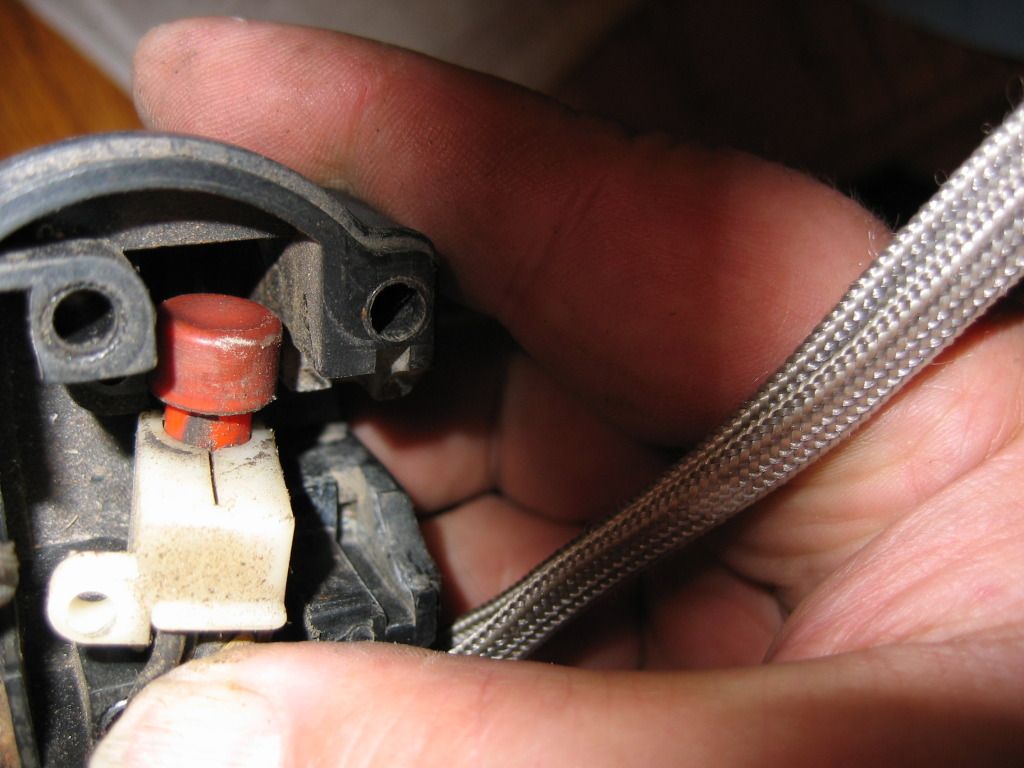
Resized to 50% (was 1024 x 768) - Click image to enlarge 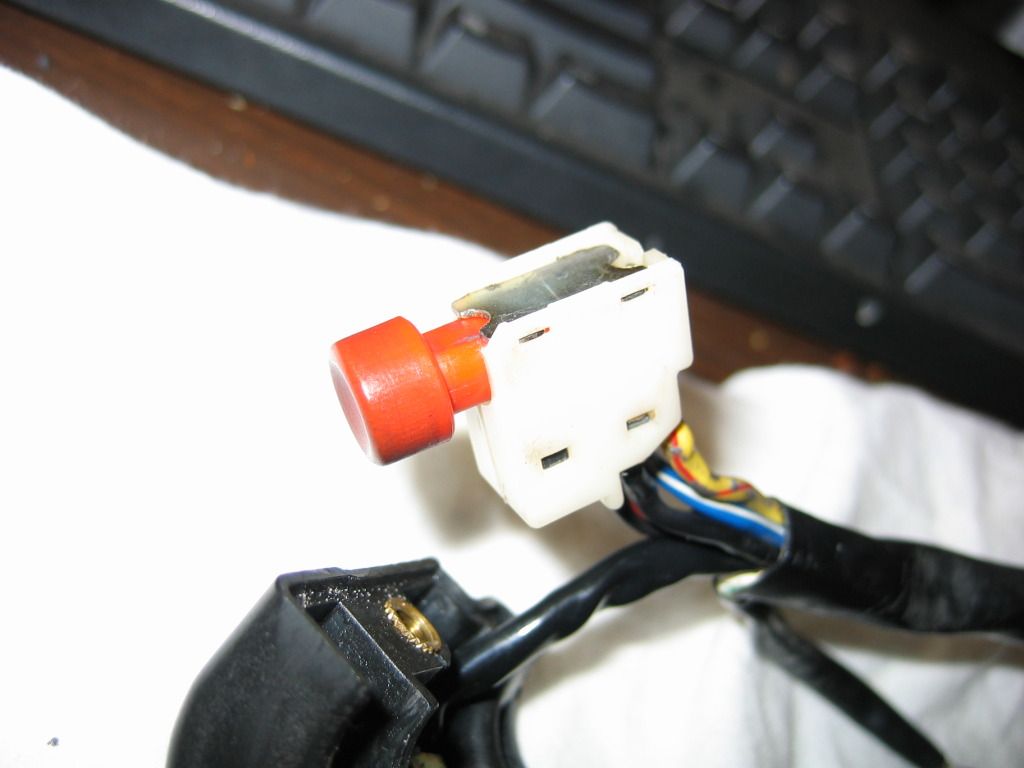
Metal plate, bottom of switch.
Resized to 67% (was 768 x 1024) - Click image to enlarge 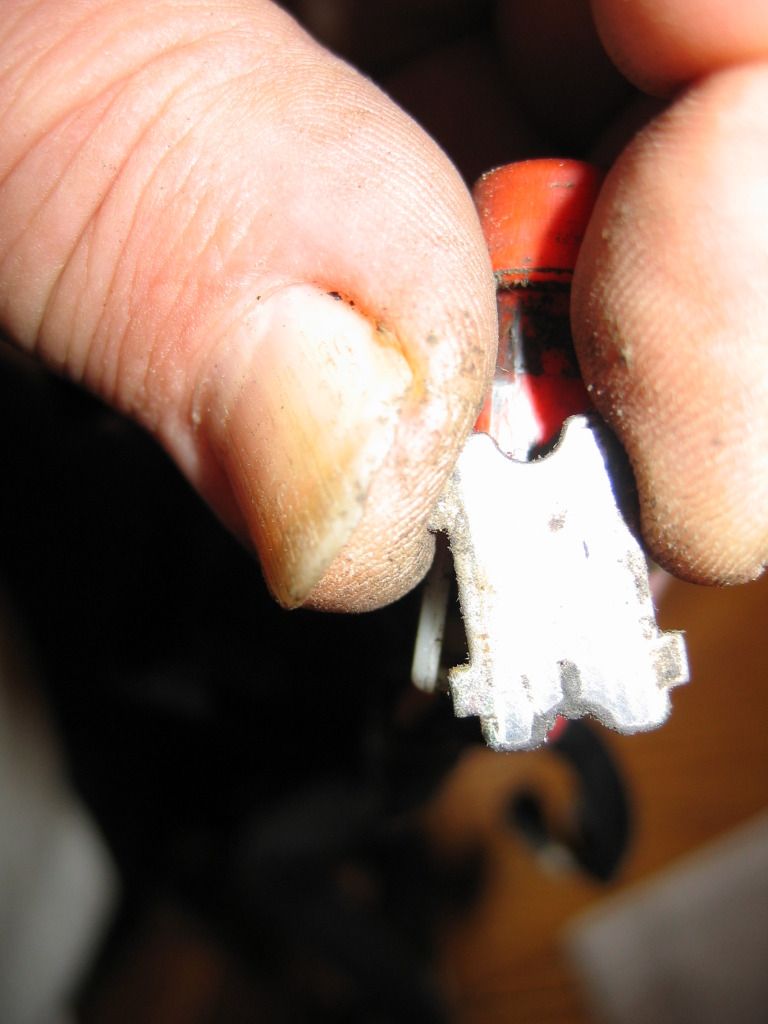
Plate off:
Resized to 67% (was 768 x 1024) - Click image to enlarge 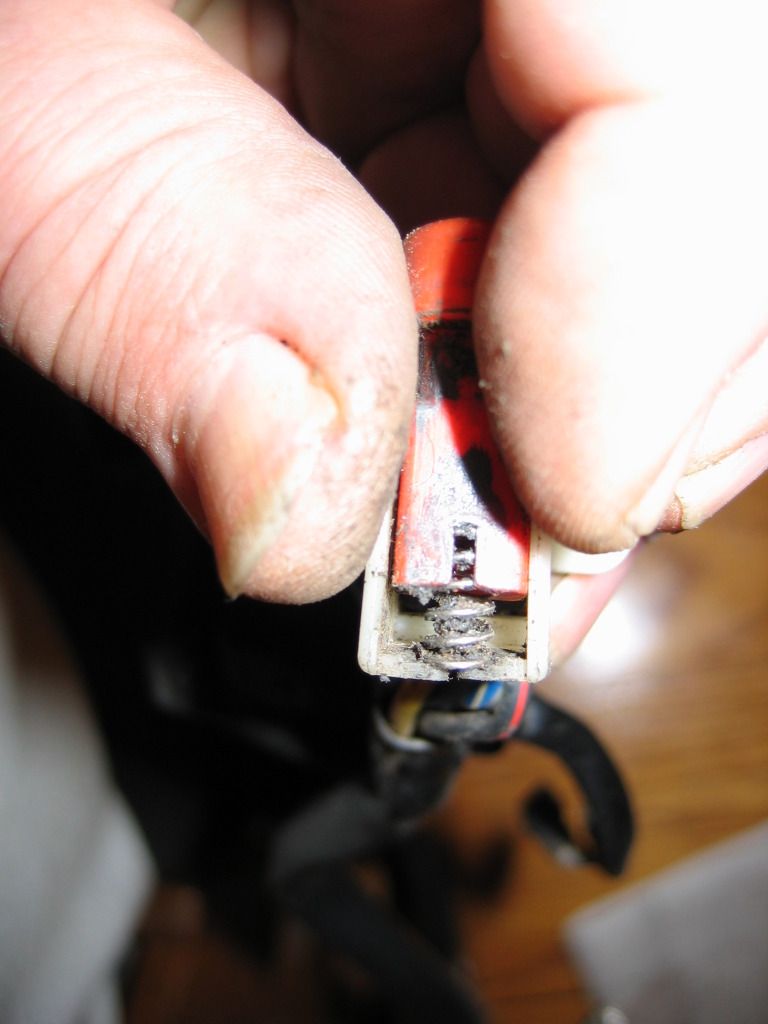
Wrong way to lift out the button contacts:
I say wrong since, except for the dirt/grime/grease, the contacts, etc. would fall out, straight down.
Resized to 67% (was 768 x 1024) - Click image to enlarge 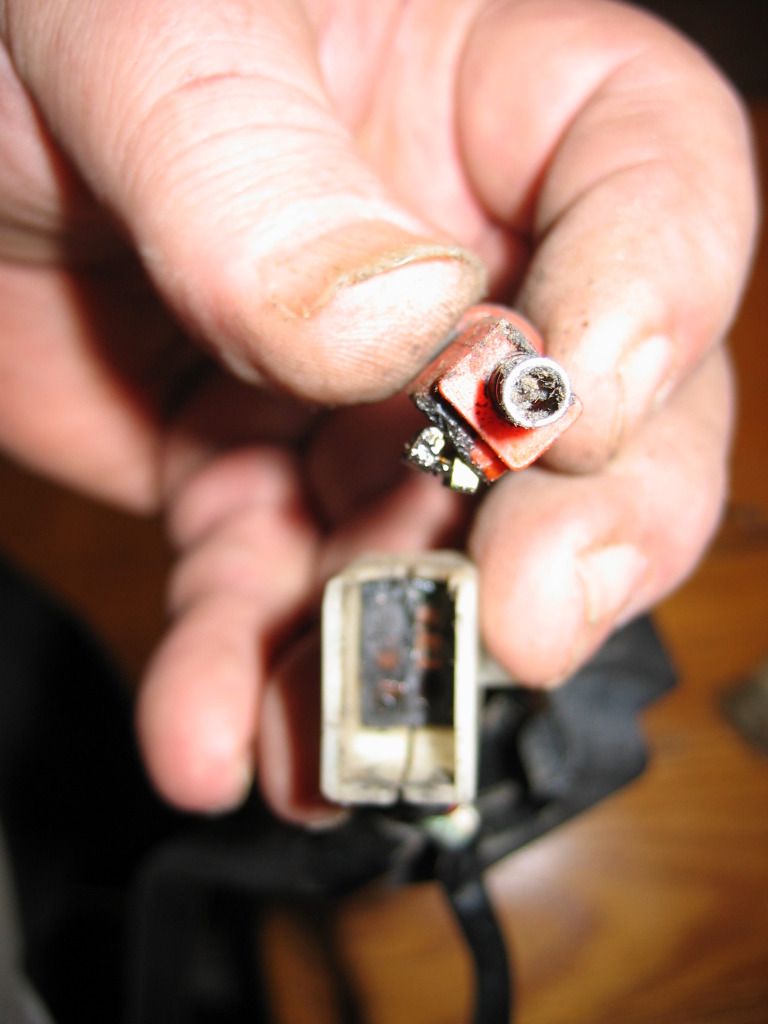
Button assembly:
Resized to 68% (was 750 x 499) - Click image to enlarge 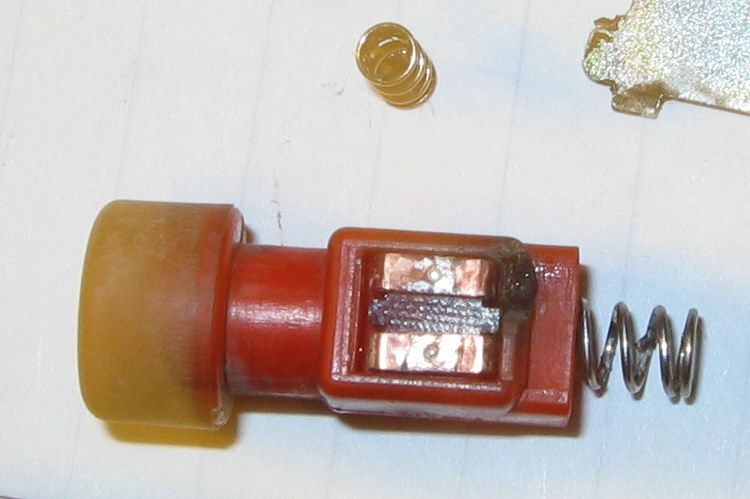
The melted corner in the upper right of the part indicates a poor connection of the contacts creating resistance and heat was created. This poor connection was caused by dirt and corrosion. If you have to wiggle the button to get the starter to activate, this is probably what is going on inside.
Resized to 50% (was 1023 x 742) - Click image to enlarge 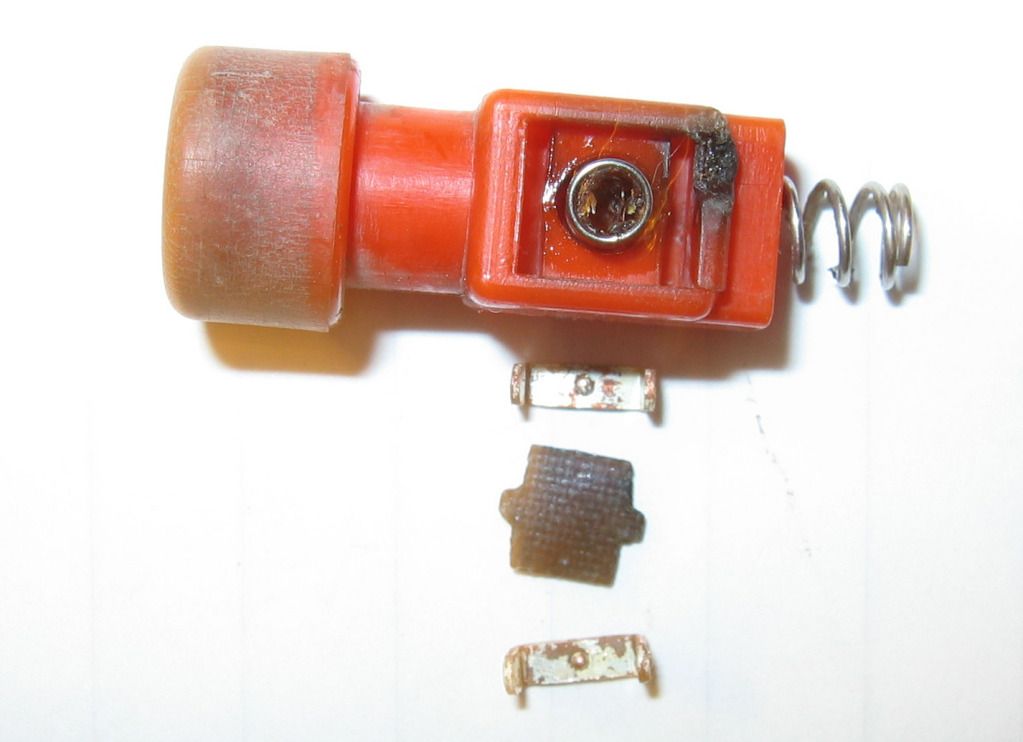
The spring at the top of the first picture resides under the two contacts and the insulator.
Removing stationary contacts:
Resized to 50% (was 1023 x 731) - Click image to enlarge 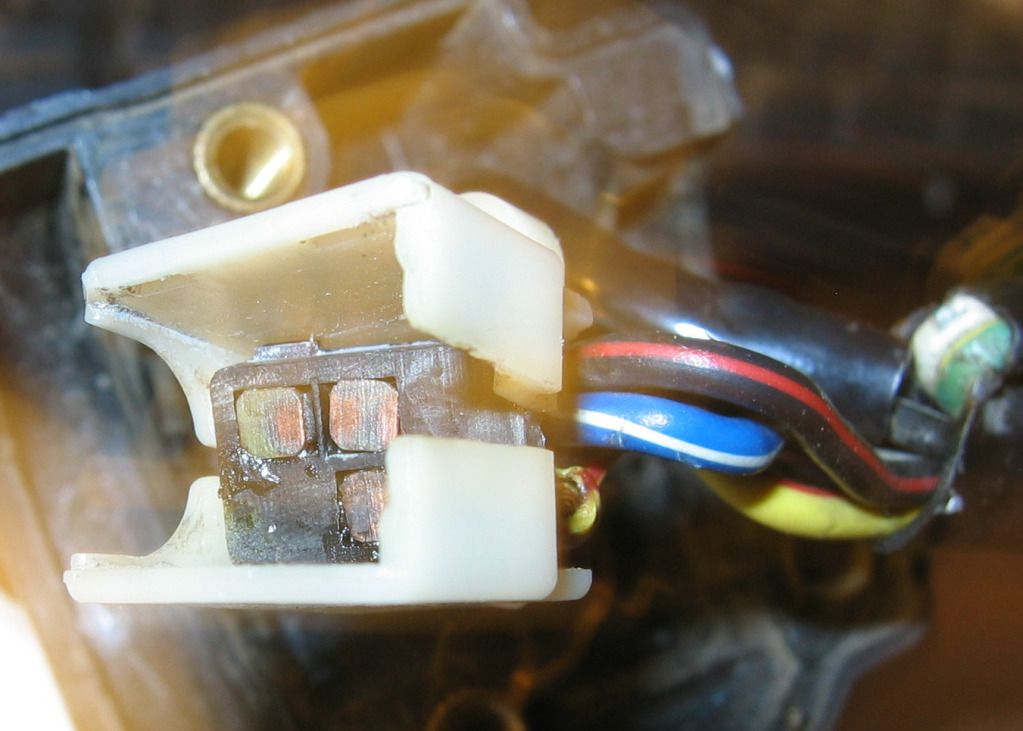
Resized to 50% (was 1024 x 768) - Click image to enlarge 
I think removing the stationary contacts is optional, but it does allow you to examine the wires, soldering, etc. I had to epoxy one contact back in place. Spreading the white case was a bit nerve racking in that it felt as if it was going to break in half, but it seemed designed to spread.
Button contacts going back in. The center spring underneath the contacts/insulator made this a little tricky:
Resized to 59% (was 874 x 1023) - Click image to enlarge 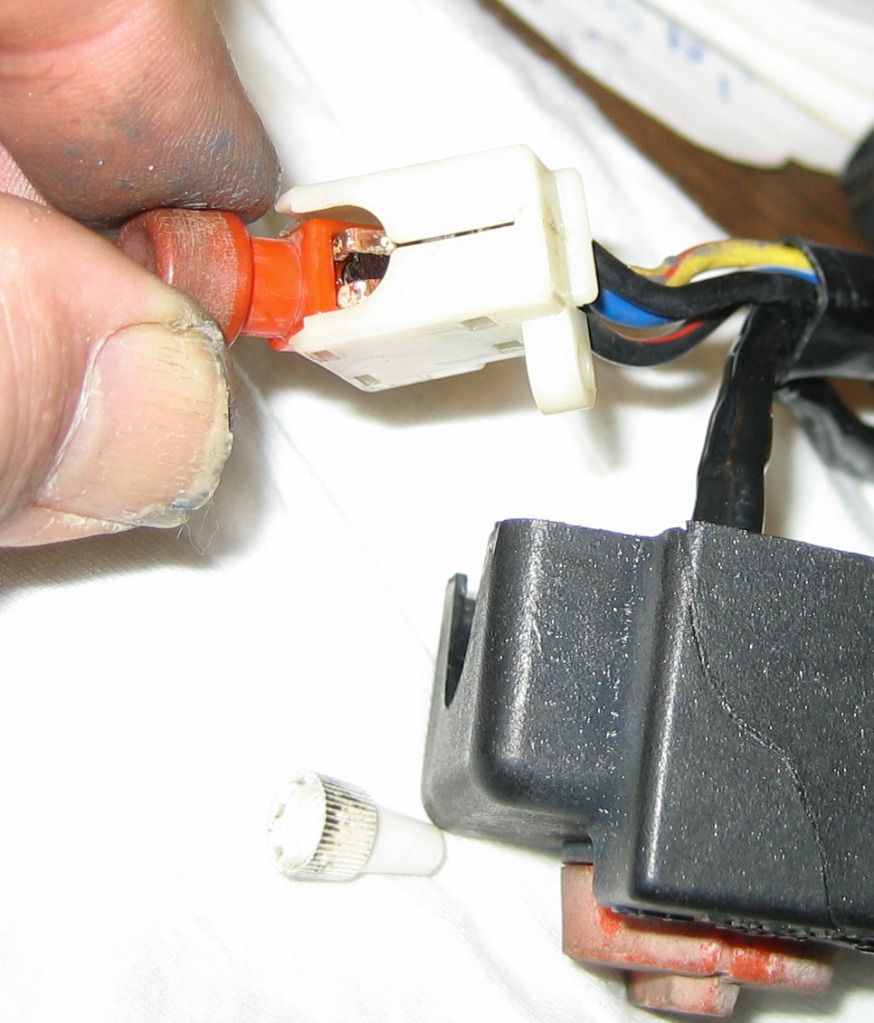
Lots of dielectric grease helped keep assembly together during installation.
As has often been noted, the start button parts are small, and the grease and dirt makes them want to stick to everything, both on dis-assembly and assembly. You can't be too careful. The cutoff/kill switch is similar in nature.
Spraying the contacts with cleaners had no effect. I sanded mine clean.
This site is backed by Number 85, who provide the hosting. If you need a website done, get in touch with them.
